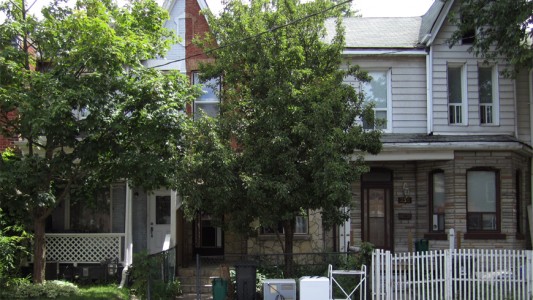
It was time in the renovation to install new upstairs windows. The existing windows are old aluminum double storm windows that are definitely not worth saving. They are very difficult to open, drafty, rattle in the wind and they provide very little heat insulation or noise reduction.
Aside from just replacing the windows we also took this opportunity to enlarge the window in the back bedroom to let in more light and help make a small room feel bigger and airier.
We’ve been really liking the look of black framed windows on other red brick houses in our neighbourhood and online on our favorite home design blogs/websites. So we decided this would be the look to go for on the outside. We also wanted something practical in the sense of being able to easily clean both the outside and inside of the window. Easy to open from the top and bottom, thermally efficient, and help to reduce street noise from the outside.
The windows are quite large so this is not something that we would try to DIY without some professional help. Luckily a friend of ours worked for years installing residential and commercial windows and agreed to help us out with installing the new upstairs windows (Thanks Pete!).
The plan is to replace all four of the upstairs windows. Two of them will need to be brickmould windows and the other two will need to be flush flange windows.
What is a brickmould window?
A brickmould window includes a frame on the outside. This is so that when you install it into a brick or stucco opening it gives the window a finished look. Source.
Installation Process for New Upstairs Windows
Taking Measurements
The first step is to take some accurate measurements so we can place the window order. Here are the steps we took to measure the window:
- Remove window coverings
- Carefully remove the window trim so that it can be re-installed later
- Cut away enough drywall so that the window jambs, head and sill are just exposed
- Measure the width at the top, middle and bottom and use the smallest measurement
- Measure height on the left side, middle and right side and use the smallest measurement
Your new window should fit inside of the smallest measurements. You really want to measure twice to be sure you have an accurate measurement so that you don’t risk ordering a window that is too small or too big. In our case for the window that we are expanding we decided to just go twice as wide as the original. After the order was placed we had a few weeks to dream about what the new windows would look like.
Removing the Old Windows
Once the windows arrived we picked a nice sunny day and started early in the morning in case we ran into any difficulty. We started by removing the glass panes and setting them aside to be thrown out later. With a little elbow grease the rest of the window frame came out using a hammer and pry bar. At this point you want to clean up your opening and fix any framing issues you can access or even re-frame the window out if you have to. Make sure to leave the opening the same size as when you measured from before!
Installing new upstairs windows
To install the window we used some suction cups, cedar shims, a level, some screws and a drill. With some help, we carefully set the window down in the opening. If you measured correctly it should easily fit inside. We shimmed the window in to sit level and plumb using the cedar shims. You really want the window to be as level and plumb as possible so that the opening/closing mechanism works smoothly. Once we were satisfied with the position of the window we sink a few screws through the window and into the frame to secure it. Next step was to cut the excess from the shims and spray foam the space in between the window and the frame to stop drafts. We essentially repeated this process for all the windows, conservatively working on one at a time so not to get too far ahead of ourselves should some problem arise.
Capping and Clean up
So now the new upstairs windows were all installed. Great! Time to finish up the outside and clean up the inside. For the outside of our windows we decided to go with black aluminum capping to match the black aluminum soffit, fascia and downspouts we had installed when we did the new roof. Our friend who used to do windows has a bending machine that he used to create the capping pieces from a roll of black aluminum we had bought. He measured up the dimensions, sometimes precariously leaning out the second story window to get an accurate measurement. Definitely not for the fainthearted! Once he fastened and caulked the capping into place it really finished off the outside look of the windows.
On the inside we cleaned up any excess spray foam and debris from the work and called it a day. We decided not to bother putting up the old trim. It wasn’t worth saving and we were planning on new trim at a later stage of the renovation. So we will have to live with the look of an unfinished window for a while. Believe it or not, even unfinished on the inside it is a massive improvement from the old windows!
Final Thoughts
Installing new upstairs windows had a transformational effect on our house both inside and out. The outside looks sharp with the contrast between the red brick and the black frames and aluminum capping. The inside is more comfortable now that we have thermally efficient windows with no drafts and much quieter because the windows do not rattle and provide more noise reduction. In the summer time we will be able to open them wide to get a nice breeze through the house and they should be easy to clean as well.
Appendix
Although Pete doesn’t really do windows anymore, if you are looking for someone to do a glass shower or railing, his work is amazing (check out our Instagram for pictures of our glass shower). You can get in touch with him through his website: At It’s Best Glass & Mirror
We ordered our windows from Anig windows in Toronto.


Comments